Layout View
Layout View is the most fun and feature-filled part of the Momento software and it is probably where you will spend most of your design time. We’ve included lots of information on Layout View below but open the software and have a play with it yourself - you’ll be surprised at just how much you can do.
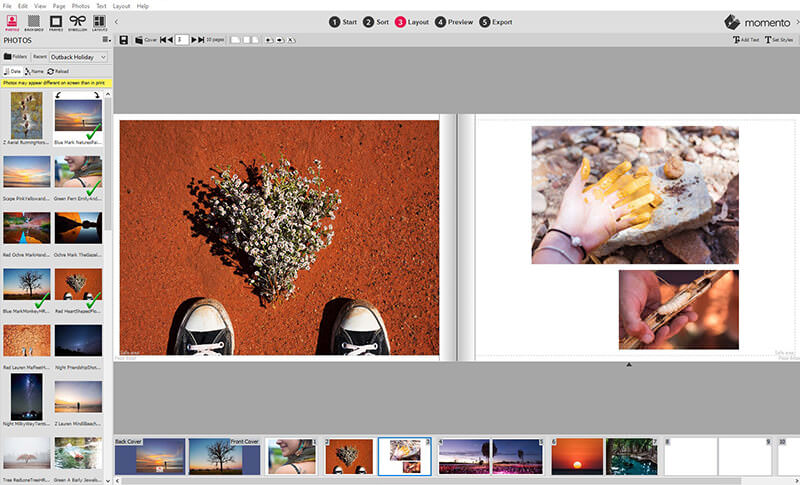
Layout View is where you can edit and customise every page of your project with more ease and more tools than any other view. It presents your content in graphical form rather than as icons as in Sort View, and provides a miniature view of your pages, their content and their sequence at the bottom of the page.
Features of Layout View
This is a quick summary of just some of the things you can do. Click on the links to find our more about them:
- Add, move and delete pages
- Add, move and delete photos
- Frame your photos
- Add text and captions
- Use rulers and guides
- Use a Template or Quickbook layout
- Let ACE design the page for you
- Decorate your page with embellishments
- Add a coloured background
- Align and position photos to each other
- Centre a photo on the page
- Span photos across two pages
- Layer or rotate your photos
- Scale and resize photos
- Crop and trim photos
- Change the colour of a photo
- Make a photo transparent
- Auto-enhance all my photos